

An interview lighting setup is simply a controlled way of shaping the subject, the background and the contrast between them. You can do that with one light, two lights or a classic three-light arrangement. The number of fixtures matters far less than giving each one a clear job.
If I had to reduce professional interview lighting to one practical rule, it would be this: start with the room, then add only the light you actually need. A window may already be your key. A white wall may already be your fill. A practical lamp may already create background separation. The lighting kit should solve problems, not create a diagram for its own sake.

What is an interview lighting setup?
A professional interview lighting setup usually has three possible functions:
- Key light — establishes the main direction, exposure and character of the light on the face.
- Fill — controls how deep the shadow side remains. This may be a second light, a reflector, a wall or even ambient bounce.
- Separation or back light — helps distinguish the subject from the background through brightness, edge light, colour or depth.
Those are functions, not mandatory fixtures. A one-light interview can look more sophisticated than a badly designed three-point setup if the room is doing useful work for you.
Interview lighting at a glance: 1, 2 and 3 lights
1-light setupKEY → SUBJECT ← negative fill Camera in front. Optional practical or window in the background. Best when the room already provides fill or background interest. | 2-light setupKEY → SUBJECT ← BACK / EDGE Or use the second fixture as fill if shadow control is the bigger problem. Best when you need more separation or more control over contrast. | 3-light setupKEY → SUBJECT ← FILL BACK / EDGE ↘ Classic three-point lighting: versatile, controllable and easy to repeat. |
The 1-light interview setup
This is where I would start most of the time.
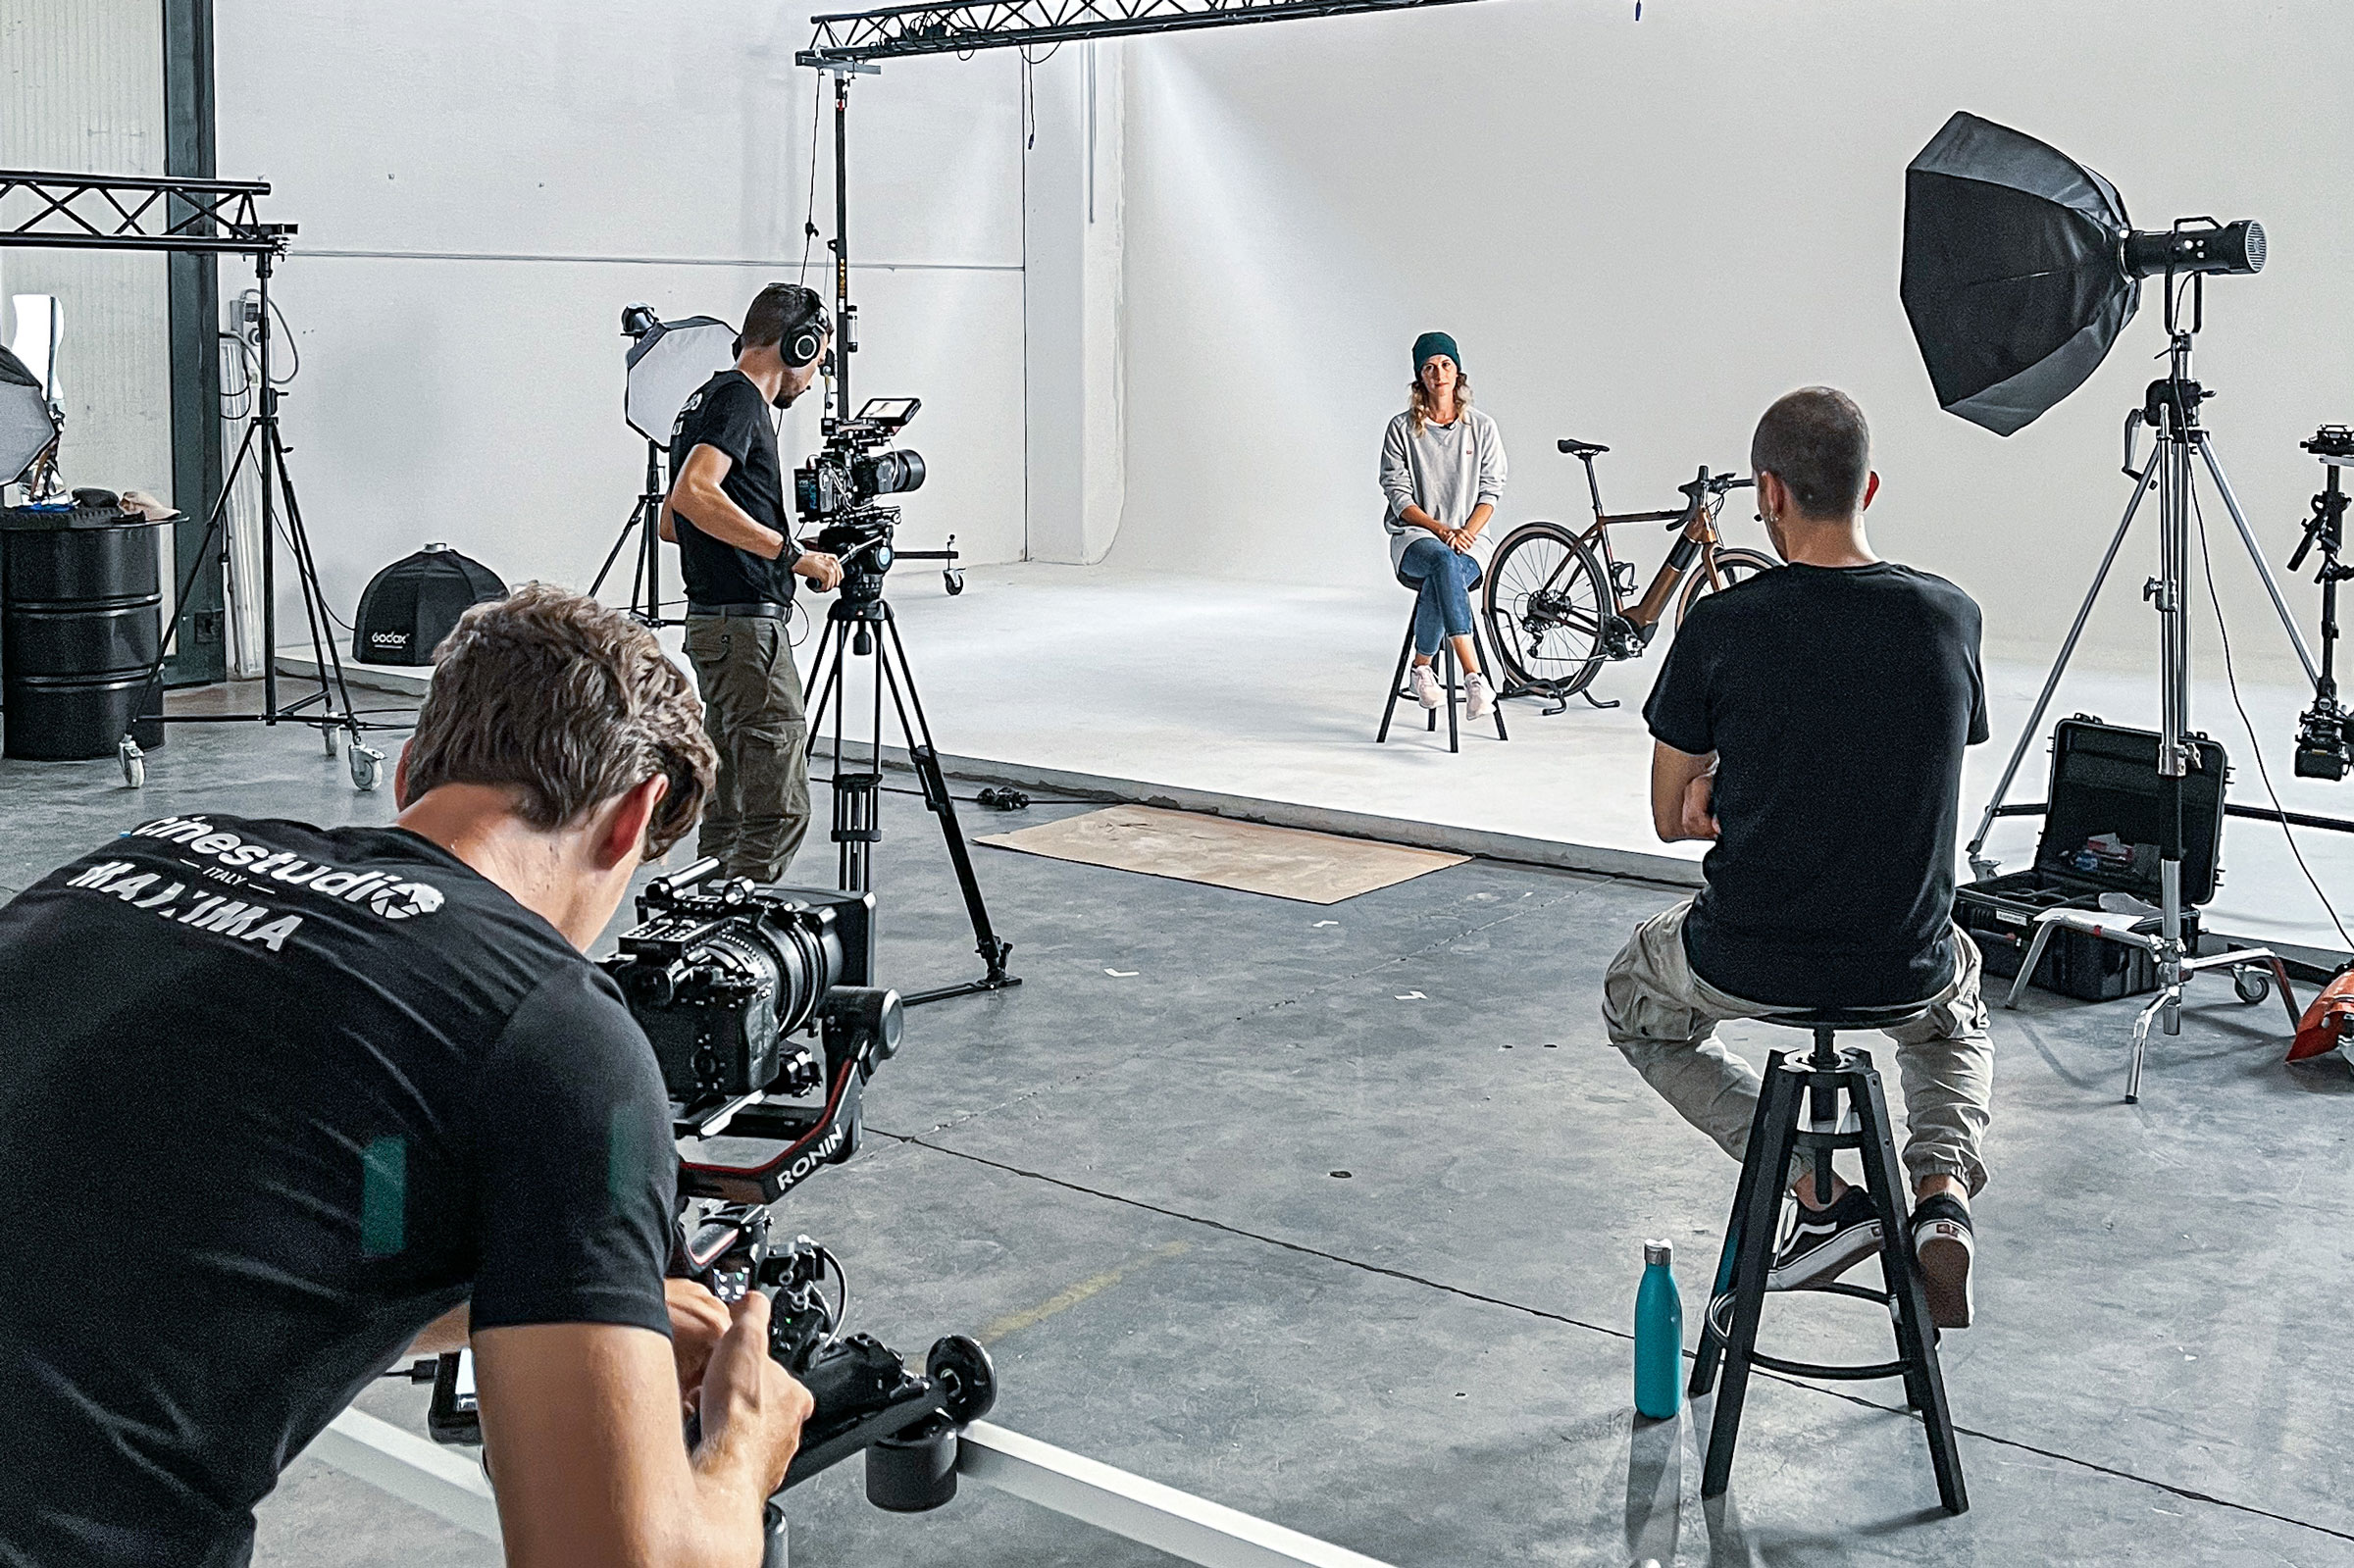
Place a large, soft key approximately 30–45 degrees to one side of the camera and slightly above eye level. Then look at the shadow side of the face. If the room is bouncing too much light back into it, add negative fill with a black flag, floppy or piece of black fabric. If the shadows are too deep, use a reflector or nearby pale wall instead.
1-LIGHT INTERVIEW SETUP
SOFT KEY ↘ SUBJECT ▮ NEGATIVE FILL
↓
CAMERA
Use an existing practical, window or controlled patch of light to give the background depth.
One light is often enough for talking-head interviews, documentary work, expert interviews and fast corporate setups. The advantage is not only speed. With fewer sources, it is easier to see what each change is actually doing to the face.
The 2-light interview setup
The second fixture should solve the biggest remaining problem.
In many rooms that means separation. Keep your soft key as the main source and place the second fixture behind or to the rear side of the subject, ideally motivated by something in the frame: a window, lamp or brighter area of the background.
2-LIGHT INTERVIEW SETUP
SOFT KEY ↘ SUBJECT ↙ BACK / EDGE
↓
CAMERA
If the subject already separates well from the background, use the second fixture as fill instead.
That last point matters. I would never add a backlight simply because a textbook says an interview “needs” one. If the subject already has enough separation through brightness, colour, depth of field or composition, the second light may be far more useful as controlled fill or as a background source.
The classic 3-light interview setup
Three-point lighting remains a very useful framework because it gives independent control over the three main functions: key, fill and separation.
3-LIGHT INTERVIEW SETUP
SOFT KEY ↘ SUBJECT ↙ FILL
BACK / EDGE ↘
↓
CAMERA
Think in functions, not in fixed angles. The room and the face should determine the final positions.
The classic arrangement is especially useful when you need repeatability across multiple subjects, several interview positions or a multi-camera production. But I still treat the diagram as a starting point, not a recipe.
How should you position the key light for an interview?
The familiar 45-degree recommendation is useful because it creates visible modelling on the face without pushing the shadow side too far into profile. But I would rather watch the face than watch the angle.
Move the key closer to camera and the face becomes flatter and more frontal. Move it farther to the side and the image becomes more sculpted and contrasty. Raise it and the eye, nose and chin shadows change. Lower it and the light becomes less natural very quickly.
For many interviews, I like a large source relatively close to the subject. That gives softness without necessarily sacrificing direction. A large source can still create shape.
Soft light does not mean flat light
Soft light is popular for interviews because it is flattering, forgiving and comfortable for a subject who may sit in front of the camera for an hour. But the softness comes primarily from the apparent size of the source relative to the subject, not from a magical “soft-light fixture”.
A compact point-source LED inside a large softbox or umbrella can become a broad, soft key. The same fixture with a reflector or Fresnel can become much harder and more directional.
This is why I think of the fixture as the engine and the modifier as the tool that gives the light its character.
Fill light vs negative fill
One of the fastest ways to improve an ordinary office interview is often to remove light rather than add it.
White walls, low ceilings and pale furniture can bounce enough ambient light back into the subject that the face loses shape. In those situations, placing a black flag or fabric on the shadow side can restore definition more effectively than introducing another fixture.
Use positive fill when you genuinely need to open the shadows. Use negative fill when the room is already filling them too much.
Do you need a backlight for interviews?
No. You need separation.
That can come from:
- an edge or hair light;
- brightness contrast between subject and background;
- colour contrast;
- depth of field;
- distance between subject and background;
- a practical lamp;
- or simply better composition.
A backlight that appears to come from nowhere can make an interview feel more artificial, not more cinematic. Whenever possible, I prefer to motivate it from something the viewer can believe exists in the space.
How do you create depth in an interview background?
Move the subject away from the wall whenever the location allows it. Physical distance gives you more control over focus, exposure and background lighting.
Then look for layers. A practical lamp, doorway, brighter patch of wall, foreground object or subtle difference in colour temperature can help create depth without requiring another full lighting setup.
You rarely need to light the whole room. One carefully placed pool of light can be enough to make the frame feel intentional.
What colour temperature should interview lights use?
There is no universal interview Kelvin value.
If daylight from a window dominates the room, I may bring the key close to that white point. In a warm interior I may move toward the practicals. Sometimes I deliberately keep the face more neutral while allowing the background lamps to stay warmer.
The useful distinction is not “mixed colour” versus “matched colour”. It is mixed colour by accident versus mixed colour by intention.
And remember that identical Kelvin values do not guarantee identical colour. Two fixtures can both be set to 5600K and still render skin differently because CCT only describes the approximate white point, not the complete spectrum.
For interview work, where the face is usually the most important part of the frame, I pay attention to colour rendering as well as CCT. If you want to go deeper, our guide to professional continuous lighting and skin tones explains why those are separate questions.
Interview lighting on location: what matters most?
Location interviews change the priorities. The room may be small. Power may be inconvenient. A useful window at 9:00 may be unusable by 11:00. The same fixture may need to move from key light to background light between setups.
For that reason, I value:
- low system weight for fast repositioning;
- direct battery operation when mains power is awkward;
- wide CCT adjustment for mixed real-world environments;
- enough output for diffusion and window competition;
- quiet cooling because an interview is also an audio recording;
- modifier compatibility so one fixture can change character quickly.
Where Maxima Spectra fits into an interview kit
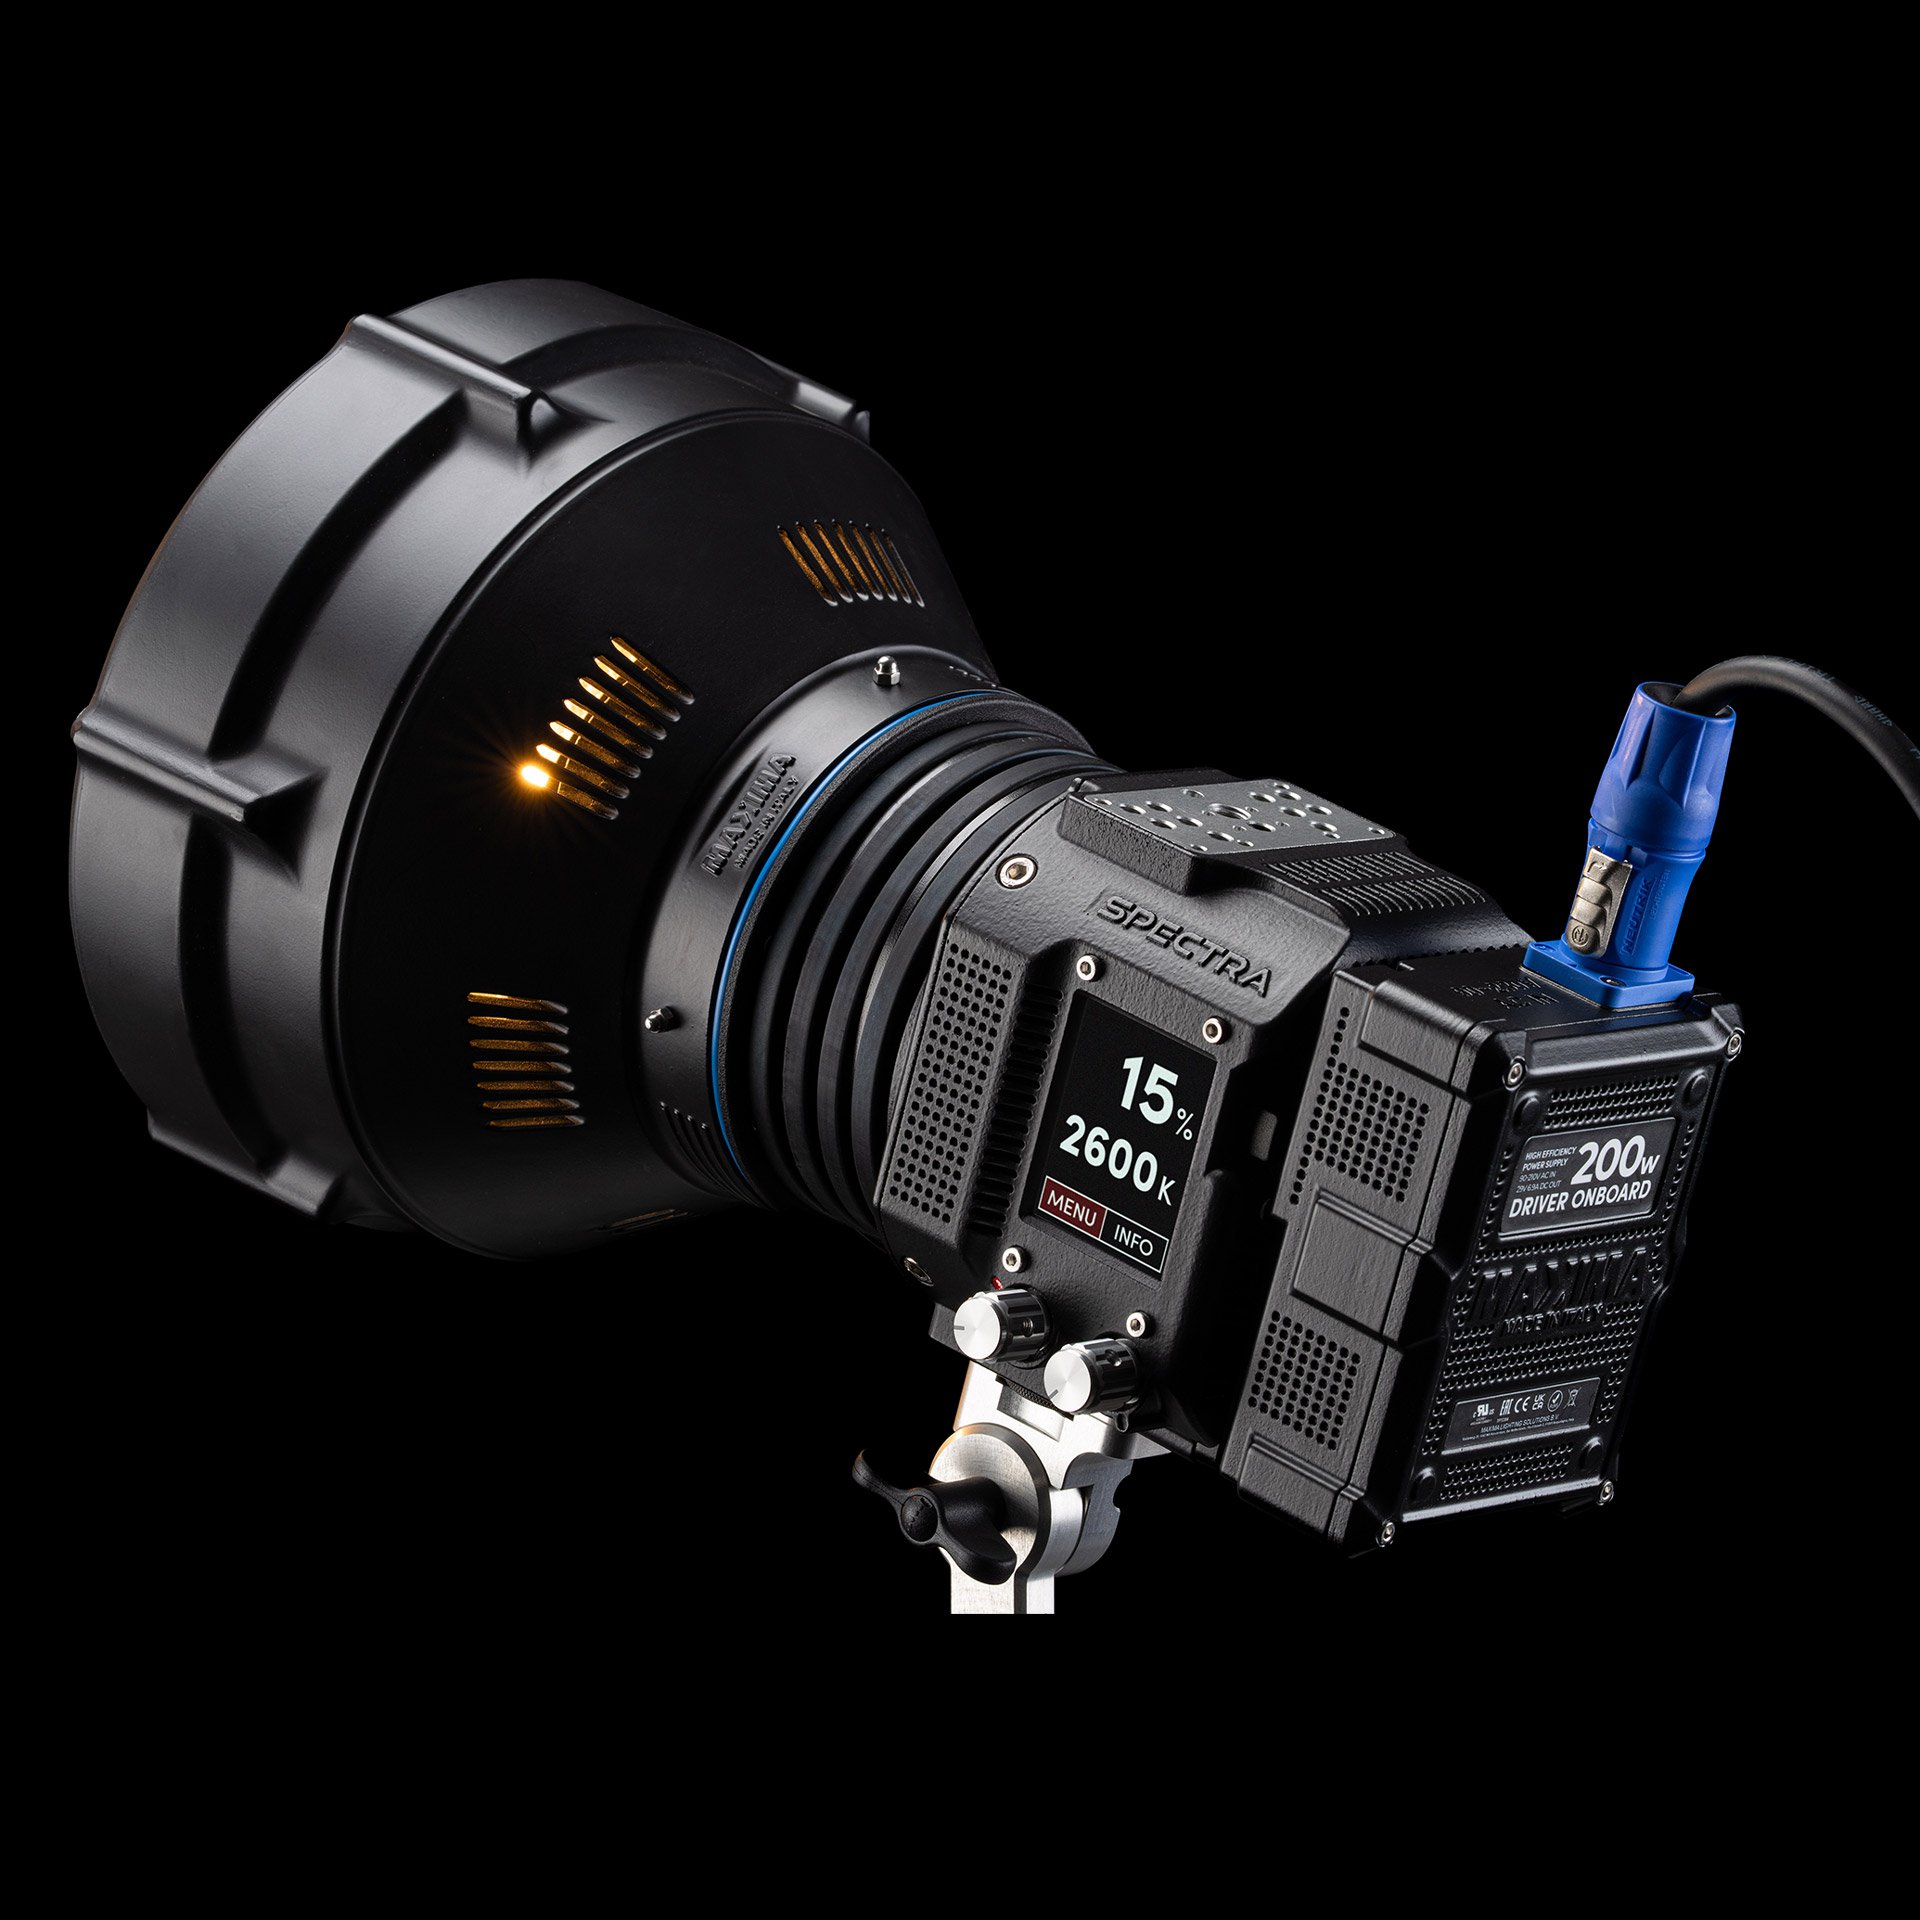
Maxima Spectra is the Maxima fixture I would reach for first when building a compact interview kit. It weighs approximately 1.4 kg, supports direct V-Mount battery operation, offers a 2600K–7000K CCT range, and has R9 97 and TLCI 98.
More importantly for interview work, it can move between different lighting roles without forcing you into a new modifier ecosystem. Spectra works with Profoto® modifiers natively and with Bowens® modifiers through the adapter, so the same head can become a large soft key, a more controlled directional source or a compact background light.
Where Maxima Rapida fits
Rapida makes particular sense when you want a rugged, lightweight second source or when the production moves outdoors. Its direct battery workflow and IP54 protection make it useful as a fill, edge or background fixture in location work where weather resistance matters more than advanced on-head control.
When does a very high-output fixture like Furiosa make sense?
Most interview setups do not need enormous power. But there are situations where output headroom changes what is possible: competing with strong daylight through large windows, placing the source far from the subject, filling very large modifiers, or pushing through several layers of diffusion.
That is the territory where a high-output fixture such as Maxima Furiosa can still make sense. I would not reach for it because an interview “needs a powerful light”. I would reach for that level of output only when the scene genuinely requires the freedom to throw away a lot of light through distance, diffusion or daylight competition.
Common interview lighting mistakes
- Putting the subject directly against a wall. It removes depth and makes the background harder to control.
- Using soft light without direction. Soft does not have to mean flat.
- Adding a backlight automatically. Separation is the goal, not compliance with a diagram.
- Matching every light to the same Kelvin by default. Intentional colour contrast can create depth.
- Ignoring negative fill. Removing bounce can improve the face more than adding another source.
- Lighting only the person. The environment is part of the portrait.
- Overcomplicating the setup. Every light should have a reason to exist.
My practical interview lighting workflow
- Choose the background before setting up the lights.
- Study the existing light and decide what is worth keeping.
- Move the subject away from the background whenever possible.
- Build the key light first and shape the face.
- Decide whether the shadow side needs fill, negative fill or nothing.
- Evaluate separation before adding a backlight.
- Shape the background only where the composition needs it.
- Remove anything that does not improve the image.
That last step is important. Interview lighting becomes much easier once you stop treating professionalism as a fixture count.
The best interview lighting setup is the simplest one that gives you control
One light can be enough. Two lights often give you all the flexibility you need. Three-point lighting remains a useful, repeatable framework. The right choice depends on the room, the background, the face, the available ambient light and the visual language of the production.
The goal is not to make the viewer notice your lighting diagram. It is to make the subject feel present, dimensional and believable.
If you are building a compact interview kit and want to understand which fixture and modifier combination makes sense for your work, you can talk with a Maxima lighting specialist. Tell us how you shoot, what modifiers you already own and whether you work mainly in studio or on location. We can help you build around what you actually need rather than around a generic kit list.
